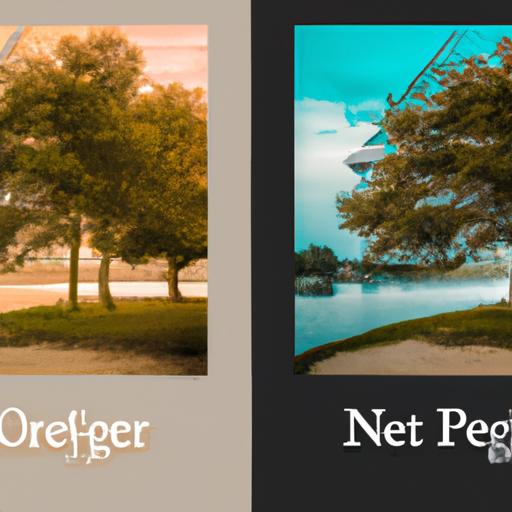
Lightroom iPad is a powerful photo editing tool that provides an array of features to enhance your photos. Whether you’re a professional photographer or an amateur, Lightroom iPad makes it easy to edit your photos on-the-go. However, using presets in Lightroom iPad can take your photo editing experience to the next level.
Presets are pre-made settings that allow you to apply a specific look or style to your photos with just one click. They can speed up your workflow and give your photos a consistent look. In this article, I’ll guide you through the process of adding presets to Lightroom iPad, step-by-step.
So, whether you’re new to Lightroom iPad or a seasoned pro, keep reading to learn how to add presets to lightroom ipad and take your photo editing skills to the next level.
Understanding Presets

Presets are a fundamental aspect of photo editing in Lightroom iPad. They are pre-made settings that apply a specific look or style to your photos with just one click. Presets can save you time and allow you to achieve a consistent look across your photos.
Definition of Presets in Photo Editing
In photo editing, presets are pre-made settings that allow you to apply adjustments to your photos with one click. They can be applied to individual photos or multiple photos at once. Presets can include adjustments to exposure, color, contrast, and more.
Types of Presets Available in Lightroom iPad
Lightroom iPad offers a wide range of presets to choose from. You can find presets for different types of photography such as portraits, landscapes, and black and white photography. Additionally, you can create your own presets or download them from various sources.
Benefits of Using Presets in Photo Editing
Using presets in photo editing can save you time and allow you to achieve a consistent look across your photos. Presets can also provide inspiration and help you develop your own editing style. By applying presets, you can quickly see how different adjustments affect your photos and learn more about the editing process.
Finding and Downloading Presets

Presets are an essential part of photo editing, and finding the right ones can make a significant difference in the final result. Here are some tips to help you find and download presets for your Lightroom iPad:
Recommended sources for downloading presets
There are many sources available for downloading presets, but not all of them are reliable or high-quality. Here are some places to start your search:
- Adobe Lightroom Mobile: Adobe offers a wide selection of free and premium presets in the Lightroom Mobile app.
- PresetLove: PresetLove is a website that offers a vast collection of free presets for Lightroom iPad.
- Creative Market: Creative Market is an online marketplace that offers a range of premium presets for Lightroom iPad.
Tips for selecting the right presets for your photos
When selecting presets for your photos, keep the following tips in mind:
- Consider the style you’re trying to achieve: Look for presets that match the style and mood you want to convey in your photos.
- Check for compatibility: Make sure that the presets you download are compatible with Lightroom iPad.
- Look for reviews: Read reviews of the presets you’re interested in to see what other users have to say about them.
Steps for downloading presets to your iPad
Once you’ve found the presets you want to download, follow these steps to add them to Lightroom iPad:
- Download the presets to your computer.
- Connect your iPad to your computer and open iTunes.
- Click on the iPad icon and select “Apps.”
- Scroll down to “File Sharing” and select “Lightroom.”
- Drag and drop the preset files into the Lightroom Documents folder.
- Open Lightroom iPad and select the preset folder. Your new presets should now be available for use.
By following these tips and steps, you can find and download high-quality presets for Lightroom iPad and take your photo editing skills to the next level.
Importing Presets to Lightroom iPad
How to Import Presets to Lightroom iPad
Importing presets to Lightroom iPad is a straightforward process. Here’s how you can do it:
-
First, download the preset file to your iPad. You can do this by downloading the preset file from a trusted source or transferring it from your computer.
-
Once you have the preset file on your iPad, open Lightroom and select the “Presets” tab at the bottom of the screen.
-
Tap the three dots in the top-right corner of the screen, then select “Import Presets.”
-
Navigate to the location where you saved the preset file and select it.
-
The presets will now be added to Lightroom iPad, and you can access them by selecting the “Presets” tab.
Common Issues and Troubleshooting When Importing Presets
While importing presets to Lightroom iPad is a relatively simple process, you may encounter some issues along the way. Here are some common issues and how to troubleshoot them:
-
Incorrect File Format: Make sure that the preset file is in the correct format. Presets for Lightroom iPad should be in the .dng or .lrtemplate format.
-
File Size Limitations: Lightroom iPad has a file size limitation of 100MB. If your preset file is larger than this, you may need to compress it before importing.
-
Compatibility Issues: Presets created for Lightroom Desktop may not be compatible with Lightroom iPad. Make sure that the preset is specifically designed for Lightroom iPad.
Best Practices for Organizing and Managing Presets in Lightroom iPad
Organizing and managing your presets in Lightroom iPad can help you work more efficiently and save time. Here are some best practices for organizing and managing your presets:
-
Create Folders: Create folders for different types of presets, such as color presets, black and white presets, or portrait presets.
-
Rename Presets: Rename your presets to make them easier to find and remember.
-
Delete Unused Presets: Delete any presets that you no longer use to keep your preset library organized.
By following these best practices, you can make the most of your presets and streamline your photo editing workflow in Lightroom iPad.
Applying and Customizing Presets
How to Apply Presets to Your Photos in Lightroom iPad
Once you’ve downloaded and imported your presets into Lightroom iPad, it’s time to apply them to your photos. Follow these steps to apply presets to your photos:
- Open the photo you want to edit in Lightroom iPad.
- Tap the Presets icon at the bottom of the screen.
- Browse through the available presets and select the one you want to apply.
- Tap the preset again to apply it to your photo.
- Adjust the preset settings to your liking using the sliders at the bottom of the screen.
It’s that simple! With just a few taps, you can apply a preset to your photo and customize it to your liking.
Tips for Customizing Presets to Fit Your Style and Preferences
While presets can be a great starting point for editing your photos, it’s important to customize them to fit your style and preferences. Here are some tips for customizing presets:
- Adjust the exposure, contrast, and saturation levels to fit your preferences.
- Use the crop tool to adjust the composition of your photo.
- Experiment with different color filters and effects to achieve the desired look.
- Use the healing brush tool to remove unwanted objects from your photo.
By customizing presets, you can create a unique look that suits your personal style and preferences.
Examples of Before and After Photos Using Presets in Lightroom iPad
To give you an idea of the power of presets, here are some examples of before and after photos using presets in Lightroom iPad:
- A dull landscape photo can be transformed into a vibrant, colorful scene using a preset.
- A portrait can be enhanced with a preset that adds a soft, dreamy effect.
- A street photograph can be given a vintage, film-like look with the right preset.
By using presets in Lightroom iPad, you can take your photos from ordinary to extraordinary, and create a signature style that sets your photos apart.
Conclusion
In conclusion, adding presets to Lightroom iPad can transform your photo editing experience. With just one click, you can apply a consistent and professional look to your photos. In this article, we have covered the importance of presets in photo editing and provided a step-by-step guide on how to add and use them in Lightroom iPad.
Remember to download presets from reputable sources and select the ones that fit your style and preferences. Organize and manage your presets to avoid clutter and troubleshoot any issues that may arise when importing them to Lightroom iPad.
At Ngcloudy.com, we strive to provide you with the latest tips and tricks to enhance your photography skills. We hope this guide on how to add presets to Lightroom iPad has been helpful. Try it out and let us know your experience in the comments below. Happy editing!

