Introduction

As a photographer, you understand the importance of editing your images to give them a professional look. In recent years, Lightroom presets have become a popular tool for photo editing, allowing you to apply pre-made settings to your photos quickly. However, if you’re new to photo editing, you may be wondering if you can use Lightroom presets in Luminar. In this article, we’ll explore the compatibility between the two software programs and provide a comprehensive guide on how to use them together.
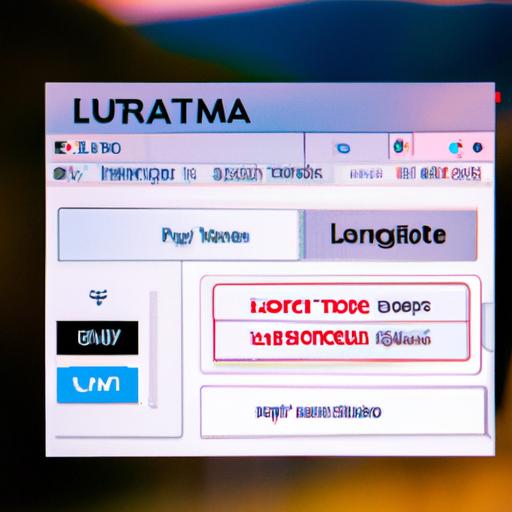
First, let’s briefly explain what Lightroom presets and Luminar software are. Lightroom presets are pre-made settings that can be applied to your photos. They allow you to quickly and easily edit your images with just one click. Luminar software, on the other hand, is a photo editing software that offers a range of powerful editing tools and features. It’s an excellent alternative to Lightroom, and many photographers are switching to Luminar for their editing needs.
In this article, we’ll discuss the importance of presets in photo editing, explore the features of Lightroom and Luminar software, and provide a detailed guide on using Lightroom presets in Luminar. So, whether you’re a professional photographer or a beginner, this article is for you. By the end of it, you’ll have a better understanding of how to use Lightroom presets in Luminar and how this can improve your photo editing workflow.
What are Lightroom Presets?

Definition of Lightroom Presets
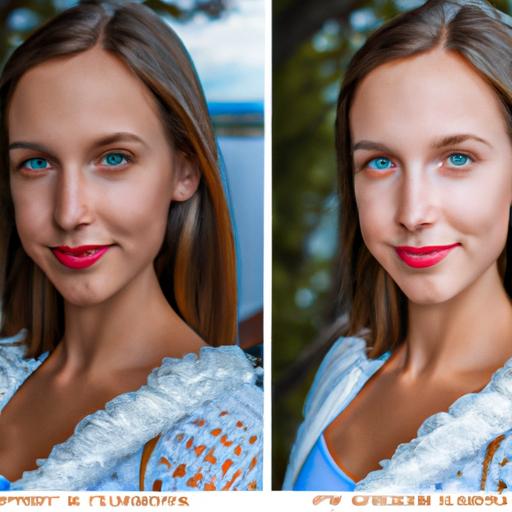
Lightroom presets are pre-made settings that can be applied to your photos with just one click. They allow you to quickly and easily edit your photos without having to make individual adjustments to each one. Essentially, presets act as a shortcut to achieving a specific look or style for your photos. They are created by professional photographers and are designed to help you achieve a specific aesthetic or mood in your images.
How to Use Lightroom Presets
Using Lightroom presets is simple. Once you’ve downloaded or created a preset, you can apply it to your photo with just one click. In Lightroom, all you need to do is select the photo you want to edit and then click on the preset you want to apply. The software will automatically adjust the settings of your photo to match the preset.
Advantages and Disadvantages of Lightroom Presets
The advantages of using Lightroom presets are clear. They save you time by allowing you to quickly apply pre-made settings to your photos. They also provide consistency to your editing style, ensuring that all your photos have a similar look and feel. Additionally, using presets can help you learn more about photo editing by analyzing the settings used in each preset.
However, there are also some disadvantages to using Lightroom presets. The biggest disadvantage is that presets can be overused, leading to an over-processed look to your photos. Additionally, using presets can limit your creativity as a photographer, preventing you from exploring different editing techniques and styles. It’s important to use presets in moderation and to always consider the unique qualities of each photo you edit.
What is Luminar Software?
Luminar software is an advanced photo editing software designed for both professional and amateur photographers. It offers a range of powerful editing tools and features that can help you to enhance your photos and make them look stunning.
Introduction to Luminar software
Luminar software was developed by Skylum and was first released in 2016. It quickly became popular among photographers because of its user-friendly interface and advanced editing features. The software is available for both Windows and Mac operating systems and can be used as a standalone application or as a plugin for other software programs, such as Adobe Photoshop.
Features of Luminar software
Luminar software offers a range of features and tools that can help you to edit your photos effectively. Some of the key features of Luminar software include:
-
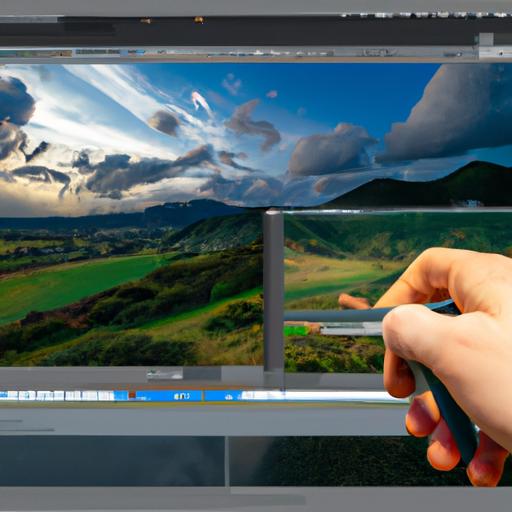
AI Sky Replacement: This feature allows you to replace the sky in your photos with just one click. The software uses artificial intelligence (AI) to detect the sky in your photo and replace it with a new one.
-
AI Structure: This feature enhances the details in your photos without affecting the overall image quality. It can help you to create stunning images with more depth and texture.
-
Customizable workspaces: Luminar software allows you to customize your workspace according to your preferences. You can choose which tools and features to display and how they are arranged.
-
Batch processing: Luminar software allows you to edit multiple photos at once, which can save you a lot of time.
Comparison between Lightroom and Luminar software
Lightroom and Luminar software are both powerful photo editing tools, but they have some key differences. Lightroom offers a range of features that are specifically designed for professional photographers, such as the ability to manage and organize large photo libraries. Luminar software, on the other hand, is more user-friendly and offers a range of AI-powered features that can help you to edit your photos quickly and easily. Ultimately, the choice between Lightroom and Luminar software depends on your personal preferences and needs.
Can I Use Lightroom Presets in Luminar?
As a photographer, you may have a collection of Lightroom presets that you’ve been using for some time. If you’re interested in trying out Luminar as an alternative photo editing software, you might be wondering if you can use your Lightroom presets in Luminar. Unfortunately, Luminar doesn’t support Lightroom presets natively, which means you can’t simply import your Lightroom presets into Luminar.
Compatibility Issues
The reason why you can’t use Lightroom presets in Luminar is that they are not compatible with each other. Lightroom presets are designed specifically for Lightroom software, and Luminar presets are designed for Luminar software. They use different file formats and coding, which means you can’t directly transfer Lightroom presets to Luminar.
Workarounds to Use Lightroom Presets in Luminar
While you can’t use Lightroom presets in Luminar directly, there are some workarounds you can use to achieve a similar effect. The easiest way to use Lightroom presets in Luminar is to recreate them manually. Luminar offers similar editing tools as Lightroom, so you can apply the same adjustments to your photos and save them as a custom preset in Luminar.
Another workaround is to use a third-party software that can convert Lightroom presets to Luminar presets. One such software is Lutify.me, which allows you to convert Lightroom presets to Luminar presets easily. However, this software is not free, and you’ll need to purchase a license.
Advantages and Disadvantages of Using Lightroom Presets in Luminar
Using Lightroom presets in Luminar has its advantages and disadvantages. The advantage is that you can achieve a similar look to your Lightroom presets in Luminar, which means you don’t have to start from scratch. The disadvantage is that you’ll need to recreate your Lightroom presets manually or use a third-party software, which can be time-consuming and costly.
In conclusion, while you can’t use Lightroom presets in Luminar directly, there are some workarounds you can use to achieve a similar effect. Whether you choose to recreate your Lightroom presets manually or use a third-party software, it’s worth exploring the possibilities of using Luminar as an alternative photo editing software.
How to Create Presets in Luminar
If you’re looking to take your photo editing to the next level, creating custom presets in Luminar can be a game-changer. Not only does it save time in your editing workflow, but it also allows you to create a unique style for your photos. In this section, we’ll discuss how to create presets in Luminar, the advantages of creating custom presets, and tips for creating effective presets.
Step-by-Step Guide on Creating Presets in Luminar
- Start by editing a photo in Luminar, adjusting the settings to your liking.
- Once you’re satisfied with the edits, click on the Presets panel on the right-hand side of the screen.
- Click on the ‘+’ symbol at the bottom of the panel to create a new preset.
- Give your preset a name and choose the settings you want to include in it.
- Click ‘Save’ to save your new preset.
Advantages of Creating Custom Presets in Luminar
Creating custom presets in Luminar has several advantages. Firstly, it saves time in your editing workflow, allowing you to quickly apply your favourite settings to multiple photos. Secondly, it helps you to create a consistent look and feel across all your images, giving your portfolio a professional and polished look. Lastly, it allows you to experiment with different editing styles, helping you to develop your own unique editing style.
Tips for Creating Effective Presets
When creating presets in Luminar, it’s important to keep a few things in mind to ensure that they’re effective. Firstly, be selective with the settings you include in your preset. Include only the settings that you use frequently and that give your photos the desired effect. Secondly, give your preset a descriptive name that reflects the settings included in it. Lastly, experiment with different combinations of settings to create a unique and personalized editing style.
By following these tips and creating custom presets in Luminar, you can take your photo editing to the next level and create a unique and professional-looking portfolio.
Conclusion
In conclusion, using Lightroom presets in Luminar is possible, but it requires a bit of effort. While Luminar doesn’t support Lightroom presets natively, you can use a workaround to import them into Luminar. The advantage of doing so is that you can take advantage of Luminar’s powerful editing tools and features while still using your favorite Lightroom presets.
In this article, we’ve explored the compatibility between Lightroom presets and Luminar software, discussed the importance of presets in photo editing, and provided a detailed guide on using Lightroom presets in Luminar. We hope that this article has been helpful in improving your photo editing workflow.
If you’re looking for a photo editing software that offers a range of powerful tools and features, Luminar is an excellent choice. It’s a versatile program that can handle all your photo editing needs. At Ngcloudy.com, we offer a range of tutorials and resources to help you get the most out of Luminar and other photo editing software programs.
So, what are you waiting for? Give Luminar a try and see how it can transform your photos. With the right tools and knowledge, you can take your photography to the next level.

