Have you ever wondered if you can use Lightroom presets in Gimp? If you’re a photo editing enthusiast, you’ve probably heard of both Lightroom and Gimp. Lightroom is a popular software used by photographers to edit and enhance their photos, while Gimp is a free, open-source image editing software that is widely used by designers, artists, and hobbyists.
In this article, we’ll explore the compatibility of Lightroom presets with Gimp and provide you with a comprehensive guide on how to use them. We’ll also discuss the advantages and disadvantages of using presets, the features of Gimp, and how to create your own presets in Gimp.
So, whether you’re a professional photographer or a hobbyist, this article is for you. Let’s dive into the world of Lightroom presets and Gimp and see how they can work together to enhance your photos.
Understanding Lightroom Presets

Are you new to Lightroom presets? Let’s start with the basics.
Definition of Lightroom presets
Lightroom presets are pre-made settings that can be applied to photos in Adobe Lightroom. They allow users to edit their photos quickly and easily by applying a set of adjustments with just one click. Presets can be created by users or purchased from various online sources.
Types of Lightroom Presets
There are different types of Lightroom presets, including:
- Color presets: These presets adjust the color settings of your photos, such as saturation, tint, and white balance.
- Black and white presets: These presets convert your photos to black and white or adjust the tonality of your black and white photos.
- Portrait presets: These presets are designed for portrait photography and can enhance skin tones, brightness, and clarity.
- Landscape presets: These presets are designed for landscape photography and can improve the color, light, and contrast of your photos.
- Creative presets: These presets can create unique effects on your photos, such as vintage, film, or HDR looks.
Advantages and Disadvantages of Using Lightroom Presets
Using Lightroom presets can have both advantages and disadvantages.
Advantages:
- Time-saving: Presets can save you time when editing your photos, as you can apply a set of adjustments with just one click.
- Consistency: Presets can help you achieve a consistent look and feel across your photos.
- Learning tool: Presets can be a helpful learning tool for understanding the adjustments made to your photos.
Disadvantages:
- Lack of control: Presets can limit your control over the adjustments made to your photos.
- Overuse: Presets can be overused, leading to a lack of creativity and originality in your photos.
- Inconsistency: Presets may not work well with all photos, leading to an inconsistent look and feel.
Now that we understand Lightroom presets let’s move on to Gimp and see how we can use Lightroom presets in Gimp.
Understanding Gimp

Definition of Gimp
Gimp stands for GNU Image Manipulation Program, and it is a free and open-source image editor that is available for Windows, Mac, and LinuIt was created in 1995 and has since become a popular choice among artists, designers, and photographers. Gimp is a powerful tool that can be used for a range of tasks, including photo retouching, image composition, and graphic design.
Features of Gimp
Gimp has a wide range of features that make it a versatile tool for image editing. Some of its most notable features include layers, masks, filters, and color correction tools. It also has a customizable interface that allows users to create their own workspaces and workflows. Gimp also supports a wide range of file formats, including JPEG, PNG, TIFF, and PSD.
Why Use Gimp Instead of Lightroom
While Lightroom is a popular choice among photographers, Gimp has its own advantages. Firstly, Gimp is free, which makes it an excellent choice for those who are on a budget or just starting with photo editing. Secondly, Gimp is open-source, which means that it is constantly being updated and improved by a community of developers. This also means that users have access to a wide range of plugins and add-ons that can extend the functionality of Gimp. Finally, Gimp is a powerful tool that can be used for a wide range of tasks, including graphic design and illustration, which makes it a versatile choice for artists and designers.
Using Lightroom Presets in Gimp
Have you ever found yourself wishing you could use your favorite Lightroom presets in Gimp? Well, the good news is that it’s possible! While Gimp doesn’t natively support Lightroom presets, there are a few ways to use them in Gimp.
Compatibility of Lightroom Presets with Gimp
Before we dive into how to use Lightroom presets in Gimp, let’s talk about compatibility. Lightroom presets are usually saved as .lrtemplate or .xmp files, while Gimp uses .ggr and .gpl files for gradients and palettes, respectively. However, there are online tools that can convert .lrtemplate or .xmp files into .ggr or .gpl files that can be used in Gimp.
Steps to Use Lightroom Presets in Gimp
Once you have your Lightroom presets converted into .ggr or .gpl files, it’s time to use them in Gimp. Here are the steps to follow:
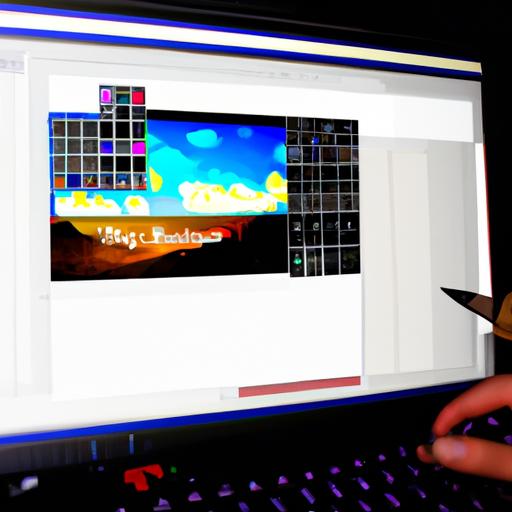
- Open Gimp and the image you want to edit.
- Go to the “Filters” menu and select “Gradient Map”.
- Click on the “Load” button and select the .ggr file you want to use.
- Adjust the opacity and blend mode of the gradient map layer to fine-tune the effect.
Tips and Tricks for Using Lightroom Presets in Gimp
Here are a few tips and tricks to help you get the most out of using Lightroom presets in Gimp:
- Use presets that are similar to Gimp’s gradient maps to get the best results.
- Experiment with different blend modes and opacities to achieve the desired effect.
- Convert your favorite presets into .ggr or .gpl files for easy use in Gimp.
- Create your own presets in Gimp to save time and streamline your workflow.
By following these steps and tips, you can use your favorite Lightroom presets in Gimp and take your photo editing to the next level.
Creating Presets in Gimp
If you’re a fan of photo editing, you know how time-consuming it can be to manually edit each photo from scratch. That’s where the beauty of presets comes in. A preset is a pre-designed set of adjustments that can be applied to a photo with just one click, saving you time and effort.
Definition of Presets in Gimp
In Gimp, presets are referred to as “filters.” Filters are pre-designed sets of adjustments that can be applied to an image to achieve a certain effect. Gimp comes with a variety of filters that can be used to enhance your photos, from basic color adjustments to more complex effects like embossing and posterization.
Steps to Create Presets in Gimp
Creating your own presets in Gimp is easy and can save you a lot of time in the long run. Here are the steps to create presets in Gimp:
- Open Gimp and open the image you want to edit.
- Apply the adjustments you want to use in your preset, such as color adjustments or filters.
- Once you’re satisfied with the adjustments, go to “Filters” in the menu bar and click on “Save filter.”
- Give your filter a name and choose a category to save it in.
- Click “OK” to save your filter as a preset.
Advantages of Creating Presets in Gimp
Creating your own presets in Gimp has several advantages. First, it saves you time by allowing you to apply a set of adjustments to multiple images with just one click. Second, it ensures consistency in your editing style, which is important if you’re a professional photographer or if you’re trying to create a cohesive aesthetic for your social media or blog. Finally, it allows you to experiment with different effects and adjustments without having to start from scratch each time.
In conclusion, creating your own presets in Gimp is a great way to enhance your photos and save time in the editing process. Give it a try and see how it can improve your workflow.
Conclusion
In conclusion, using Lightroom presets in Gimp is possible and can be a game-changer for your photo editing journey. By understanding the compatibility of Lightroom presets with Gimp and following the steps outlined in this article, you can easily use your favorite Lightroom presets in Gimp.
We’ve discussed the advantages and disadvantages of using presets, the features of Gimp, and how to create your own presets in Gimp. By doing so, you can save time and effort and create stunning photos that stand out from the crowd.
So, whether you’re a professional photographer or a hobbyist, give Lightroom presets in Gimp a try and see the difference it can make. And if you’re looking for more photo editing tips and tricks, be sure to visit Ngcloudy.com for more informative articles.

